I’ll show you how to install Shaders on Minecraft 1 in this tutorial. 19. 2 using OptiFine. The graphic creativity of the game with its blocks is amazing, but what if we could add some reflection to the water and the blocks? Sun rays? Animation in the grass and even in the leaves of the trees? If you’re interested in having all of these things in your Minecraft, this is the tutorial for you.
Step 2: Download a Shaderpack of Your Choice
Download shaderpacks that you want to try out. Here is our selection of a few outstanding ones that have recently been updated. Since there are countless shaderpacks available, simply keep any that you download in your downloads folder for the time being.
Here are a few reliable websites to check out if you want to find more shaderpacks:
Set up OptiFine
With the help of the free third-party app OptiFine, you can adjust and personalize the “Minecrafts” graphics. Depending on whether you use other “Minecraft” mods, the precise procedure to install and set it up may vary slightly, but these are the general steps.
1. Download OptiFine from the websites downloads page, making sure you select the OptiFine version that corresponds with the version of “Minecraft” you run. Save the file somewhere youll be able to find it easily.
Important: Save this file into your designated “mods” folder before moving on to step #3 if you want to use OptiFine with mods.
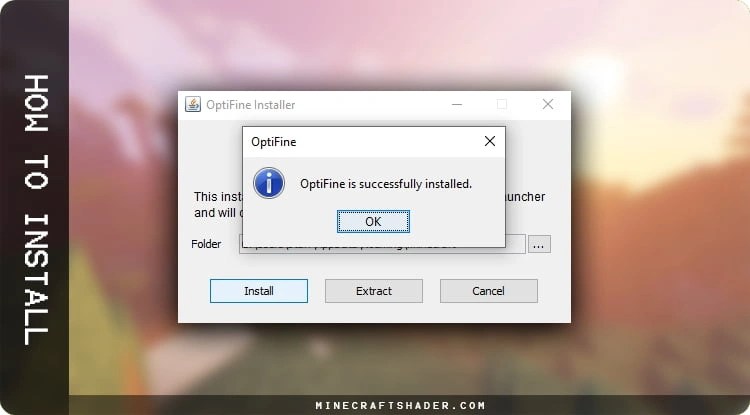
2. Find the . To launch the installer, double-click the jar file you downloaded. Click “Install. You should then see a message stating that OptiFines was successfully installed.
3. Open the Minecraft Launcher app. Select OptiFine from the drop-down menu to the left of the “Play” button (or “Forge” if you want to run additional mods), then click “Play.” “.
Now, well get the shader files installed.
How to Install Shaders on Minecraft 19.2?
The Shaders function doesn’t come by default in Minecraft Java Edition, which requires the external installation and download processes, but the whole process is quite simple. You will mostly need OptiFine; does all the magic behind the codes; the second requirement is the Shader Packs themselves.


How To Download & Install Shaders on Minecraft PC (1.18)
FAQ
How do I install Optifine Shaders?
Go to Options, then Video Settings, then Shaders. There should be a button marked “Shaders Folder” in the bottom-left corner of the Shaders window. ” Select a folder containing the downloaded shader packs. Utilizing a file called “shaderpacks” inside the ”
How do I install Minecraft 1.17 Shaders?
- Step 1) Download Iris Shaders. …
- Step 2) Install Iris Shaders. …
- Step 3) Open Iris Shaders. …
- Step 4) Download Your Shaders Pack(s) …
- Step 4) Open Your Shaders Folder & Install Shaders packs.
- Step 5) Enjoy You Shaders without Optifine!
