Occasionally, the Boot Guard verified failed error can appear after or during updating the Dell BIOS. More users are reporting the error “Boot Guard verified DXE is fail” on various Dell series According to a survey, outdated BIOS or corrupted BIOS are the main causes of the error.
If you are among one of these uses, don’t worry. The corresponding fixes for this error are available here.
Boot guard verified DXE that is failed
Way Repair the Corrupt BIOS
As previously mentioned, a corrupted BIOS can be the cause of the Boot Guard verification failure error. Using the BIOS recovery files from a hard drive or a SUB drive, the Dell BIOS Recovery tool can restore a corrupted BIOS. Here’s how:
Step 1. Hold the Ctrl + Esc keys while turning on your Dell laptop until the BIOS Recovery screen appears.
Step 2. Press Enter or Continue to launch the BIOS recovery process after selecting Recover BIOS from the BIOS Recovery Options.
Step 3. After completing the steps, restart your computer to check if the Boot Guard verified failed Dell error has vanished.
Resetting BIOS may help eliminate the Dell Boot Guard verified failed error if the first two methods don’t work. Here, you can use the instructions below to reset the BIOS.
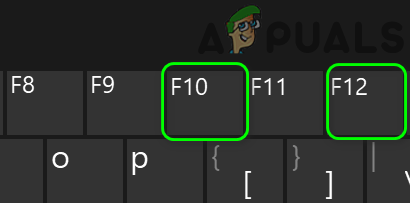
Step 1. By restarting your laptop and pressing the F12 key, you can access BIOS.
Step 2. Look in the BIOS menu’s Advanced tab for a Restore Defaults/Reset All Settings to Default/Reset to Default or similar option.
Step 3. Press F10 to save the change and close the BIOS window after choosing the option.
Way Update BIOS via a USB Drive
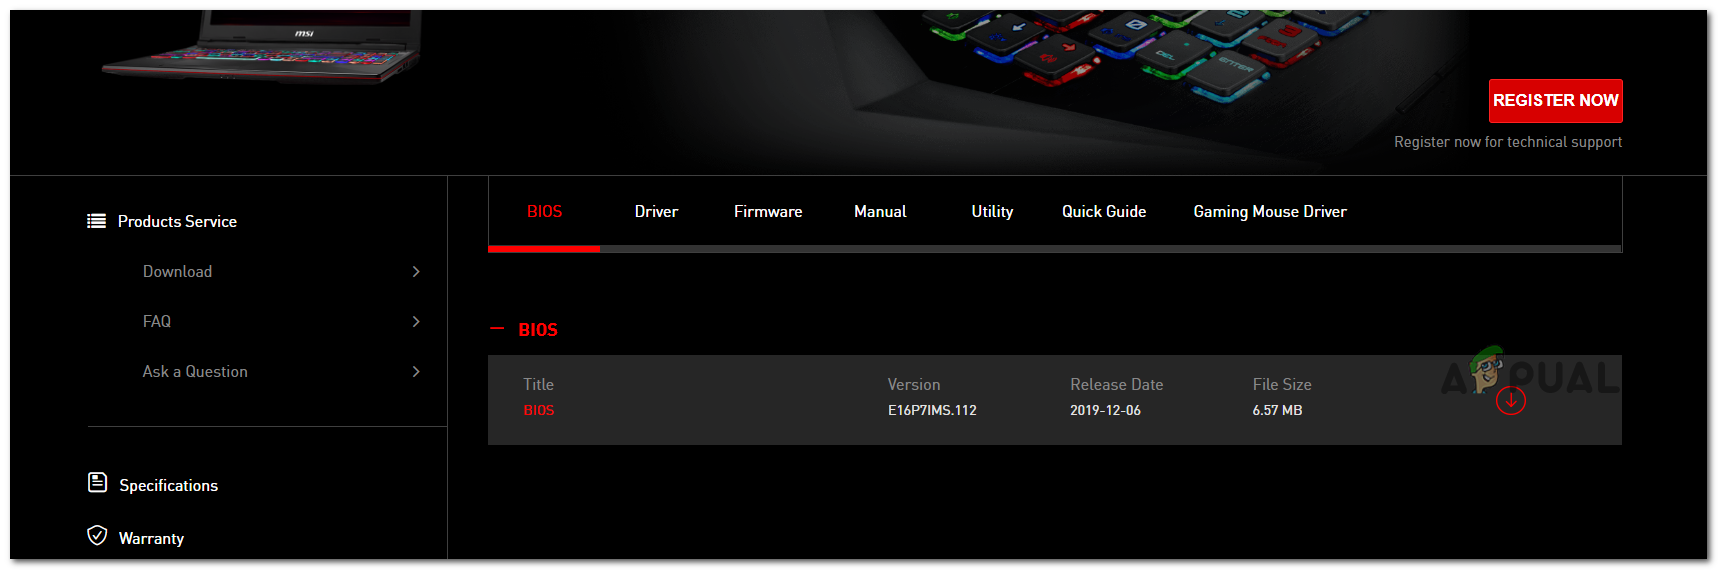
Try updating BIOS using a USB flash drive if updating BIOS through Windows gives you the Boot Guard verified DXE is fail” error. To accomplish this, you must first download the Dell BIOS update to a USB drive with FAT32 formatting before installing it using the drive.
Step 1. Prepare a FAT32 USB Drive
Make sure that your USB drive is a FAT32 file system. If not, you need to format it or convert it to FAT32. However, Windows built-in tools can’t format a drive larger than 32 GB to FAT32. In this case, a free partition software can do that easily. Moreover, it can help you convert NTFS to FAT32 without data loss.
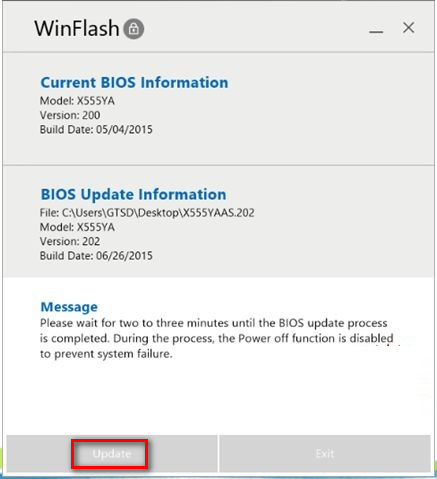
Step 2. Use the USB to Update the BIOS
Solution 1: Update BIOS of Your System to the Latest Build
To keep up with technological advancements, BIOS is updated, and known bugs are patched. If you are utilizing an outdated BIOS version, you might experience the error in question. In this situation, updating BIOS to the most recent build might fix the issue.
FAQ
How do you fix boot guard verified DXE that is fail?
This problem can be fixed by running the BIOS recovery software or updating the computer’s BIOS to the most recent version. Warning: Before updating the BIOS, Dell advises disconnecting any external devices, such as external hard drives, printers, and scanners.
How to access BIOS on Dell laptop?
Turn on the computer. At the Dell logo, tap the F2 key several times.
